There are some aspects that are simply superior to others. And the Aspect of Disobedience, which can render even weak Sorcerers playable, is one of the few aspects that comes close to matching its utility. In light of this, I'm going to walk you through the process of locating the Halls of the Damned in Diablo 4.
Diablo 4: Instructions on How to Obtain the Aspect of Disobedience
In Diablo 4, there are more than 150 different dungeons, each of which has its own special Aspect. Even though it is possible to acquire those Aspects through the use of random equipment, it is much more time and effort effective to simply complete the dungeon that they are linked to. This dungeon, known as the Halls of the Damned, is associated with the Disobedience aspect. And you won't have a hard time tracking it down either.
Kehjistan, in the Scouring Sands, is the location of the Halls of the Damned. Tarsark is the Waypoint that is the closest to you. On the other hand, if this is your first character, it's likely that Zarbinzet is already accessible to you. This significant Hawezar city is located in close proximity to the dungeon as well.
From either Waypoint, proceed in the direction of the Scouring Sands and stay on the right side of the cliff wall. You will eventually come across the entrance to the dungeon, which is typically overrun with hostile creatures.
Diablo 4's Halls of the Damned have been cleared out in their entirety.
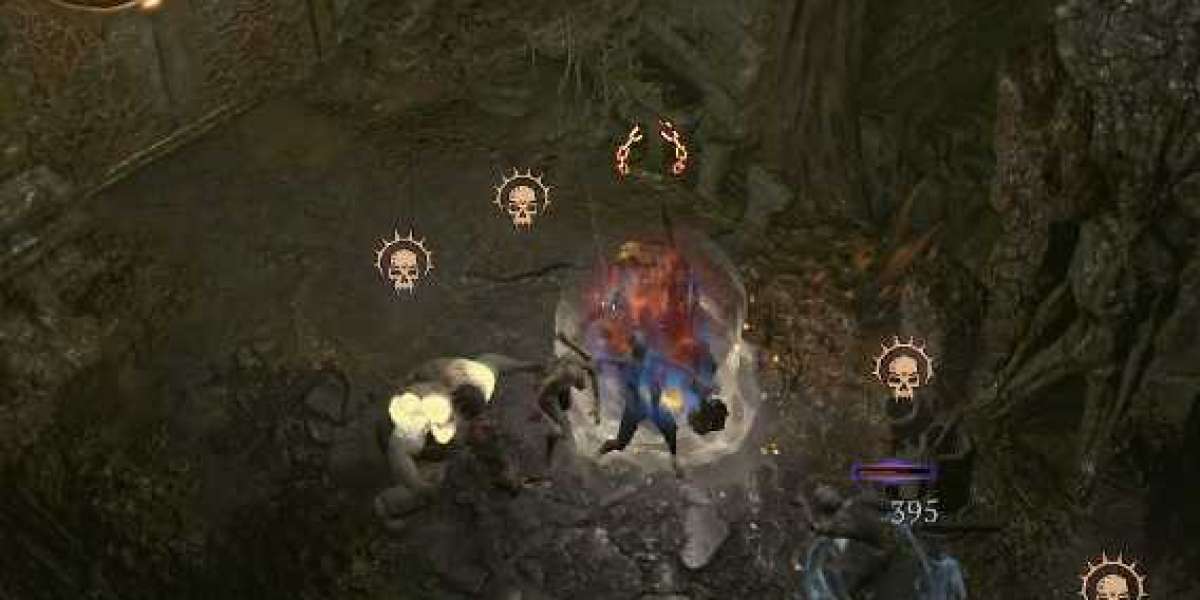
Although it may not be difficult to find the Halls of the Damned, completing them can be a bit of a chore at times. It is a large dungeon that, in one section, is crawling with Wraiths, Phantoms, and skeletons, and in the other section, it is crawling with Marauders and Master-at-Arms. In addition to that, you will be making use of teleporters in order to move between these two sections.
Destroy the Idol of the Overseer as well as the Seaborn Goddess to accomplish Objective 1.
You will need to make your way through the main dungeon until you come across a Teleporter in order to gain access to the Seaborn Goddess. If you decide to go through it, you might find yourself in a gloomy dungeon populated by Master-at-Arms, Marauders, and Vileblood. All of these foes are connected to the coastal region in some way.
If you keep going through this offshoot floor, you'll eventually come across the statue of the Seaborn Goddess. If you destroy the statue of the Seaborn Goddess, you will be besieged by waves of enemies, including the Elite foe, the Ethewlin Doomspawn. Although defeating this Elite is not strictly necessary, doing so will almost certainly result in the acquisition of loot.
The Ethelwin Doomspawn you obtain will have various modifiers, such as "Summoner" in my case. If you're having trouble defeating him, make a mental note to flee whenever he raises the mast. When he raises the mast, he is performing an attack with a wide area of effect that will cause a wave of water to be summoned. This is by far his most effective maneuver. When you have finished destroying the Seaborn Statue, you should go back through the teleporter to get to the main dungeon map and look for the second teleporter there. It is highly likely that the second teleporter is located on the other side of the dungeon.
You will need to make your way through the main dungeon until you come across the second teleporter in order to gain access to the Overseer. As soon as you step foot inside, you'll be engaged in combat with Vile Ones, Vile Overseers, and Vile Shaman. Which makes sense, considering that the purpose of our visit is to destroy a statue of an Overseer. Proceed in the same manner as you did in the Seaborn Goddess subsection, which means that you need to make your way through the short corridor until you reach the statue of the Overseer.
Once you have located the statue, you will be confronted by a large number of foes. Should you choose to demolish the statue, the Elite foe Rakoshan Pusblister will come after you and attack. Poison is in his name, so it makes sense that he possesses a Poison enchantment. Your next mission will be given to you once both statues have been destroyed.
The second objective is to make your way to the tomb.
The destruction of the statues will result in the removal of a green barrier that was located in the main dungeon. You need to go back to the main dungeon and find the door that has been unlocked. You are going to be placed in a room that has four pillars that you have to knock down in order to escape. Skeletons will keep attacking you until you give up and kill them. After you have eliminated all of the skeletons and pillars, you will be able to proceed to the subsequent section of the dungeon. You won't have to travel very far, which is a relief. The actual location of the boss fight is the Sepulchrum. You'll find a Monolith inside the Sepulchrum, guarded by two statues that are each holding a red orb in front of it. Engage in some form of activity with the Monolith to kick off the boss fight against the Tomb Lord.
Diablo 4: Strategies for Conquering the Tomb Lord
Because of how passive he is, the Tomb Lord is potentially one of the bosses that is the easiest to defeat in the game. His primary attacks are called "summoning whirlwinds" and "summoning bone walls," respectively. When the Tomb Lord calls forth whirlwinds, he will call forth a total of three of them. These whirlwinds do not move from the location where they were called upon to appear. If you stand in them, your vision will be severely impaired, and you will become drowsy. It is strongly recommended that you do not stand in them.

The summoning of Bone Walls is the second ability that Tomb Lord can use. This is where the vast majority of his damage originates. You will most likely be confined within this area using these Bone Walls. When this occurs, you will have a set amount of time to destroy those walls and get out of there before the Tomb Lord lifts his staff, which will cause the walls to explode, dealing damage to you. damage nonetheless; although not a significant amount of it.
If you do not engage the Tomb Lord in combat, he will simply float along inertly, not doing much to either avoid or attack you. You'll get some loot if you can reduce his health to a low enough level. However, the aspect of disobedience is of the utmost significance.